Tuesday, February 23, 2016

Fleet & Flourish Iron Cover

Fleet & Flourish Iron Cover by Heidi Staples for Fabric Mutt

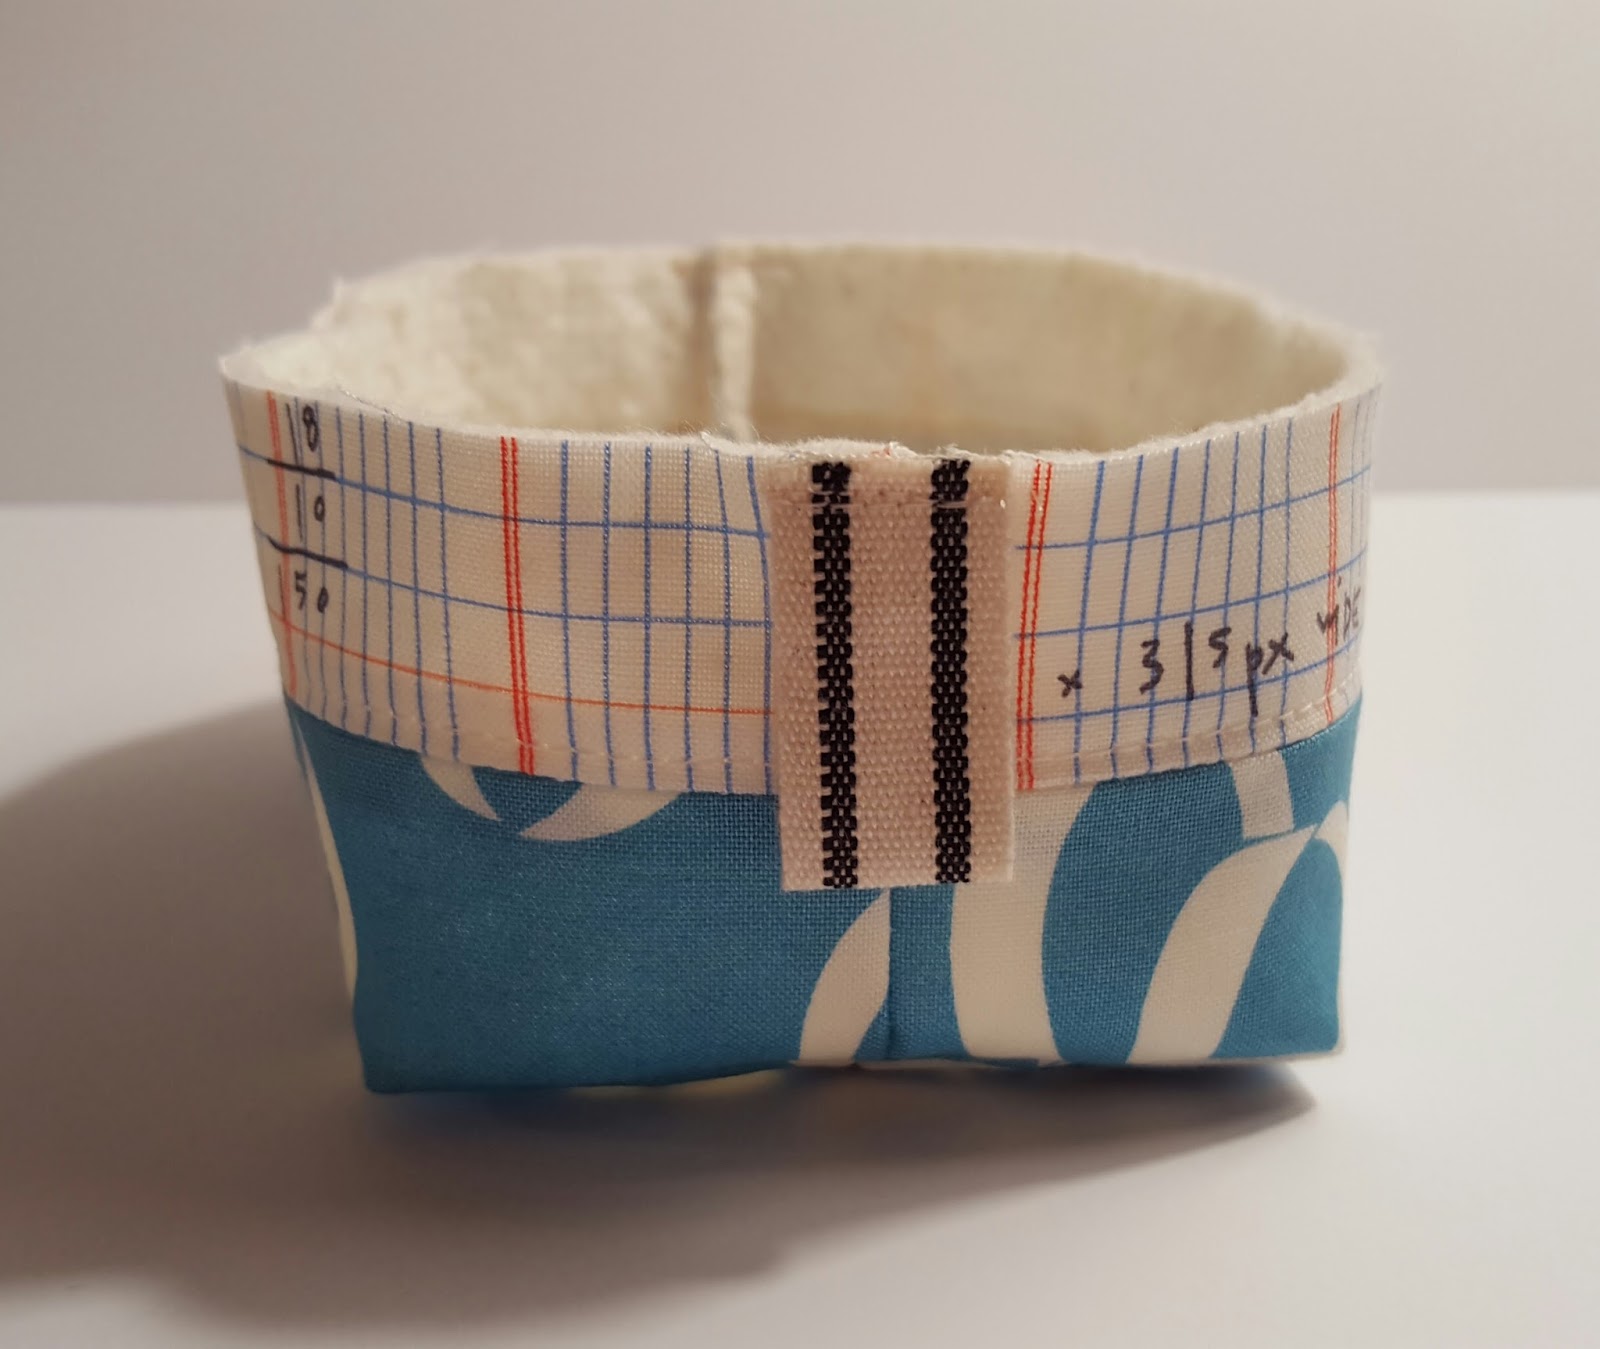
The first time I worked with Fleet & Flourish was actually last fall when I was sewing up samples for my friend Maureen's Quilt Market booth. Back then I was enjoying the challenge of seeing how far I could stretch the smaller pieces of strike-offs that I had to work with to make as many bags as possible. This time, it was a thrill to have the entire spectrum of prints on hand in the bundle that she sent me, and while I was sorely tempted to make a quilt, I decided that it would be better to sew something I really desperately needed: an iron cover.

Fleet & Flourish Iron Cover by Heidi Staples for Fabric Mutt

Though we often think only of making sewing machine covers, I've found that my iron can get just as dusty and lint covered as my machine. As I was looking through the pages of Natural Patchwork by Suzuko Koseki -- an absolutely gorgeous book which I highly recommend -- it suddenly struck me that, with just a few changes, her adorable tea cozy (shown right there on the cover) would make a fabulous iron cozy.

Fleet & Flourish Iron Cover by Heidi Staples for Fabric Mutt

It took only one afternoon to sew this together, and I couldn't be happier with the finished project. I kept the patchwork front, using slightly larger rectangles, and used a favorite print on the back. The cover is not only a perfect fit for my iron, but it also lies flat when not in use. I can slip it into a drawer while I sew and then pull it out again when I need it.

Fleet & Flourish Iron Cover by Heidi Staples for Fabric Mutt

Maureen is such a talented designer. I feel like all her projects -- whether they be her fabric collections, quilted projects, or felt creations -- are such a clear reflection of her own style: a lovely mix of bohemian, romantic, and country with just a touch of fantasy. More than anything, you can see her heart in the designs, and this is what I love the most. I'm so honored to have the chance to work with her fabric.


You can follow the rest of the tour stops below and see all the prints in Maureen's beautiful collection here.

Feb 22nd ~ Amy Friend : During Quiet Time { Blog & Instagram }
Feb 23rd ~ Heidi Staples : Fabric Mutt { Blog & Instagram }
Feb 24th ~ Amy Smart : Diary of a Quilter { Blog & Instagram }
Feb 25th ~ Amanda Jean: Crazy Mom Quilts { Blog & Instagram }
Feb 26th ~ Brooke Sellmann : Silly Mama Quilts { Blog & Instagram } Visit Maureen Cracknell Handmade for a Fleet & Flourish GIVEAWAY with Lady Belle Fabrics!!

Feb 29th ~ Amber Carillo : One Shabby Chick { Instagram & Blog }
March 1st ~ Nicke Cutler : Kiss Kiss Quilt { Instagram Blog }
March 2nd ~ Nicole Daksiewicz : Modern Handcraft { Instagram & Blog }
March 3rd ~ Christopher Thompson : the Tattooed Quilter { Instagram & Blog }
March 4th ~ Alexis Wright : My Sweet Sunshine { Blog & Instagram } Visit Maureen Cracknell Handmade for a Fleet & Flourish GIVEAWAY with Llama Fabrics!!

March 7th ~ Jessica Stewart : Izzy & Ivy Designs { Blog & Instagram }
March 8th ~ Stephanie Kendron : Modern Sewciety { Blog & Instagram }
March 9th ~ Heather Bostic : House of A La Mode // Citizens of Textile { Instagram }
March 10th ~ Ali Brorsen : Because of Brenna { BlogFacebook, & Instagram }
March 11th ~ Melissa Kelley : Sew Shabby Quilting { BlogFacebook, & Instagram } Visit Maureen Cracknell Handmade for a Fleet & Flourish GIVEAWAY with the Intrepid Thread!!

March 14th ~  Maureen Cracknell Handmade { BlogFacebook, & Instagram }

Wednesday, February 17, 2016

The Pixie Basket Tutorial

The Pixie Basket Tutorial by Heidi Staples of Fabric Mutt

Say hello to your new favorite quick project! This cute basket is the perfect size for binding clips, mini charm packs, or any other small notions you want to collect in your sewing room. It also makes a darling little gift basket for tiny presents (hint: Easter is coming!). Beyond that, you can use this to hold jewelry, crayons, office supplies, party favors, candy, clothespins, makeup, recipe cards, small toys -- just about anything! Best of all, you can easily sew one of these -- even two if you're quick -- under an hour.

The Pixie Basket Tutorial by Heidi Staples of Fabric Mutt

Finished Size: 2 x 3 x 4 1/2’’

Fabric:
For:
Cutting:
10'' square pink kitty print
Exterior basket accent
Cut 2 strips 1 1/4 x 8’’
10'' square green stars print
Exterior basket main
Cut 2 rectangles 3 1/4 x 8’’
10'' square pink scissors print
Basket lining
Cut 2 rectangles 4 x 8’’
10'' square batting
Exterior interfacing
Cut 2 rectangles 4 x 8’’
10'' square muslin
Lining interfacing
Cut 2 rectangles 4 x 8’’
5’’ twill tape, 5/8’’ wide
Basket handles
Cut 2 pieces 2 1/2’’ long
Other supplies: adhesive basting spray


1. Sew a 1 1/4 x 8’’ accent strip along the top 8’’ edge of a main exterior rectangle and press the seam open. Fuse the wrong side of this exterior panel to a 4 x 8’’ rectangle of batting and quilt as desired. (I simply topstitched a line 1/8'' above the seam on the accent strip.) Repeat with the pieces for the other exterior panel.


2. Clip or pin the two exterior panels together with the right sides of the fabric facing each other. Make sure that the seams where the accent and main pieces meet match up on both sides. Sew all the way around three sides of the exterior panels, leaving the 8’’ sides of the accent piece open. Be sure to backstitch at the start and finish of your seam.


3. Box the lower corners. Push down on a side seam so that it lies directly on top of the seam on the lower edge of the main panel, creating a triangle of batting on that side. Use your ruler to measure off a 3’’ line down the side of that triangle facing the basket (the side seam should be resting at the 1 1/2'' line). Use a pencil or fabric marker to trace that 3’’ line and then use your ruler to measure and cut a 1/4’’ seam just beyond that. Check that your seams match up before stitching down that pencil line. 


Repeat on the other side of the basket.


4. Turn the exterior right side out and push out the corners of the basket. Fold a piece of twill tape in half so that the short ends meet. Baste the raw ends together to form a loop. Center the loop on a side seam of the basket so that the raw ends line up with the opening and baste it on place on the exterior of the basket. Repeat with the other piece of twill tape on the other side seam.

5. Fuse the wrong side of a lining piece to a 4 x 8’’ piece of muslin using the adhesive basting spray. Repeat with the other lining panel and muslin piece.


6. Clip or pin the two lining panels together with the right sides of the fabric facing each other. Sew all the way around three sides of the exterior panels, leaving a 3’’ gap in the middle of the lower 8’’ edge and the other long side open. Be sure to backstitch at the start and finish of each seam.


7. Box the corners of the lining exactly as you did in step 3. Keep the lining turned inside out.


8. Slip the exterior inside the lining (right sides of the fabric touching) and clip or pin all the way around the top opening, being sure to match up the side seams. Sew all the way around the opening.


9. Pull the exterior of the basket out through the gap in the lining. Tuck the raw edges of the lining back into the gap and close it up by sewing 1/8’’ from the edge, backstitching at both ends. Push the lining down into the basket and press it carefully.

10. Topstitch 1/8’’ all the way around the opening. To give the basket a more boxy shape, press all the creases at the corners and edges.

The Pixie Basket Tutorial by Heidi Staples of Fabric Mutt

That's it! If you make a Pixie Basket of your own, please be sure to share your pictures on Instagram and Pinterest. Tag it #pixiebasket and tag me @fabricmutt.

And for those of you who, like me, won't be able to make it to QuiltCon in Pasadena this weekend, my friend Julie of The Intrepid Thread is hosting a fun online event called QuiltNon. If you make one of these Pixie Baskets and post it on February 18-21, you'll be able to get in on the fun -- that means prizes, my friends! She'll be sharing all the details on her blog soon, so be sure to head over there to check it out. And if you want to pick up a few fabric goodies from her shop while you're there, well that's okay with me...

Happy sewing!

Friday, February 12, 2016

The Sewing Notebook

Sewing Notebook by Heidi Staples of Fabric Mutt

One of the best habits I’ve picked up is to keep a sewing notebook. This is a place where I can chase rabbit trails, make mistakes, and talk about my creative passions without worrying about how they look to the rest of the world. Your notebook can take any form: a spiral notebook (with lines or graph paper), a mini or full size binder, even a document on your computer. I can’t stress how important it is to pick the one that feels most comfortable when you write in it. If you like, make a pretty cover for your notebook, like my design above which always reminds me of party invitations. Washi tape, colored pens, scrapbooking stickers, cute paper clips -- these goodies can make things lots of fun, but they’re not absolutely necessary. Mine is divided into the following sections:
  • Must Make List: a running list of projects that I want to sew
  • Project Ideas: notes and sketches for new projects
  • Inspiration: my own little scrapbook for anything that inspires me -- magazine pictures, cards, photos, paint chips, etc.
  • Class Notes: all my notes from online or in-person classes on sewing, quilting, and design
  • Creative Journal: thoughts about my creative process and journey (I'll share more about this in a future post.)
  • Fabric Designs: ideas for fabric designs or possible collections -- just for fun!

Sewing Notebook by Heidi Staples of Fabric Mutt

You can easily add sections for your blog, guild meetings, sewing retreats, shopping lists, swap projects, or even your sewing calendar (see my book, Sew Organized for the Busy Girl, for more on that). This notebook can be whatever you want it to be, and it can always change to fit your needs as you go along. I actually keep two sewing notebooks right now. One is a mini binder full of notebook paper which I usually take with me to events, and the other is a slim hardbound book full of graph paper that I use most often at home. As someone who used to have loose notes and sketches floating all over the house, I can't tell you how helpful it is to know that all my work is now organized and easy to find when I need it!

Sewing Notebook by Heidi Staples of Fabric Mutt

In the past, I've tried to have inspiration scrapbooks or journals, but I've gotten hung up on wanting them to be pretty and perfect. There's nothing wrong with pretty, but perfect will do you in every time. The whole point of the sewing notebook is having a place where mistakes don’t matter and where you have room to think and grow. Don’t cheat yourself out of that gift by trying to get everything “right.” No one ever has to see the inside of this book except you. Let it be a place where you always feel safe to be yourself.

Friday, February 5, 2016

Strawberry Biscuit Sewing Kit

Strawberry Biscuit Sewing Kit from tutorial by Heidi Staples of Fabric Mutt

Even before I wrote my Stationery Kit tutorial, I knew that one day I'd have to try a sewing kit version. And when my friends at Riley Blake & Penny Rose Fabrics said that they were sending me a layer cake of Elea Lutz's upcoming Strawberry Biscuit collection...well, that's all it took. 

First, let's talk about the fabric. This collection is ADORABLE. Elea is a fabric designer who does vintage style so well, and the cuteness meter is pretty much always off the charts. I love every print in this collection, but the plaid Biscuit Birds might just be my favorite. Singing birds on a wire sharing a songbook? My heart melts every time I see them...

Strawberry Biscuit Sewing Kit from tutorial by Heidi Staples of Fabric Mutt

This kit is exactly the same as my original tutorial except that I added a bit of felt as a landing spot for needles and pins. I also sewed up a little 2 x 4'' case for my embroidery scissors that fits in one of the larger pockets so that they don't fall out.

Strawberry Biscuit Sewing Kit from tutorial by Heidi Staples of Fabric Mutt

My youngest daughter is absolutely fascinated by the darling animals inside the tiny envelope pocket on the left. She kept flipping it open while I was trying to style my photo shoot -- and was so thrilled with it every time that I didn't have the heart to shoo her away.

Strawberry Biscuit Sewing Kit from tutorial by Heidi Staples of Fabric Mutt

It seems like every time I write a post, I tell you that, "This new thing that I just sewed is my new favorite thing!" It must sound like I have a really short attention span, but the truth is that...well...it's the truth. Maybe that's one of the reasons why I love sewing so much. It feels new and special again every time I finish another project. After a day full of grading papers, folding laundry, and vet appointments, those few minutes of sewing that I can sneak in before dinner feel like an honest-to-goodness silver lining -- just one more reason to remember that life really is so good.

Monday, February 1, 2016

Coastline Tour: Brass Ring Pillow


When I first opened the bundle of Coastline fabric that my friend Sharon sent me, I literally gasped. It was like all my days spent beside the Pacific Ocean were sitting there in front of me.


I've spent countless days on the beaches of Southern California, but at none more than Huntington Beach. Chasing seagulls near the water as a child, eating hot dogs and s'mores around the fire pit with family and friends, taking long walks on the sand and pier with my sister back when we were both single teachers escaping to the ocean on school break -- the memories are endless. Sharon captures so many of them with her beautiful collection for Art Gallery Fabrics.


I chose the Brass Ring Pillow from my book, Sew Organized for the Busy Girl, for my tour project. The quiet prints in this collection make a great background for the more saturated ones that shine in a range of tropical colors. It's such a different look from the low volume version I did in my book, and I absolutely love it. This pillow looks like it would fit in perfectly at a beach house or poolside cabana.


I adore Sharon's Tropical print, shown here in the Bronze colorway, which I chose for the pillow backing. It looks equally amazing in the Breeze colorway, which incidentally also comes in voile. Wouldn't this make a stunning summer dress?


Be sure to visit Sew Not Perfect tomorrow for another great Coastline project. Sharon is also giving away a fat quarter bundle of this collection through Instagram at the end of the tour. All you have to do is repost a picture of your favorite Coastline tour project with the hashtag #CoastlineFabricsGiveaway. You can enter as many times as you like (yes, it's okay to have more than one favorite!), and international entries are welcome. Sharon will announce a random winner on Instagram when the tour comes to a close. You can visit her blog here for all the details about the tour and giveaway.


Meanwhile, I think this pillow and I need to hang out by the pool for a while. It's too cold to swim, but I can sip my iced tea and dream of warmer days to come...
Related Posts Plugin for WordPress, Blogger...